Last week I started with the DIY Explore Marquee Light, one of the projects that I had worked on for our local Parade of Homes, and I wanted to show you another this week.
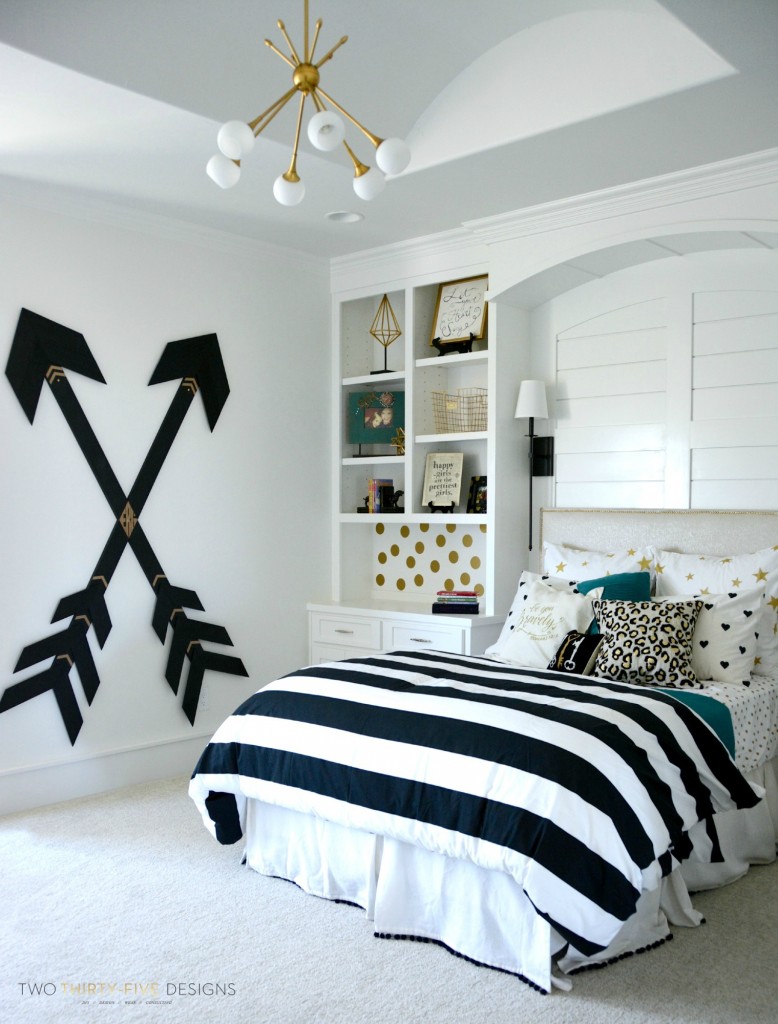
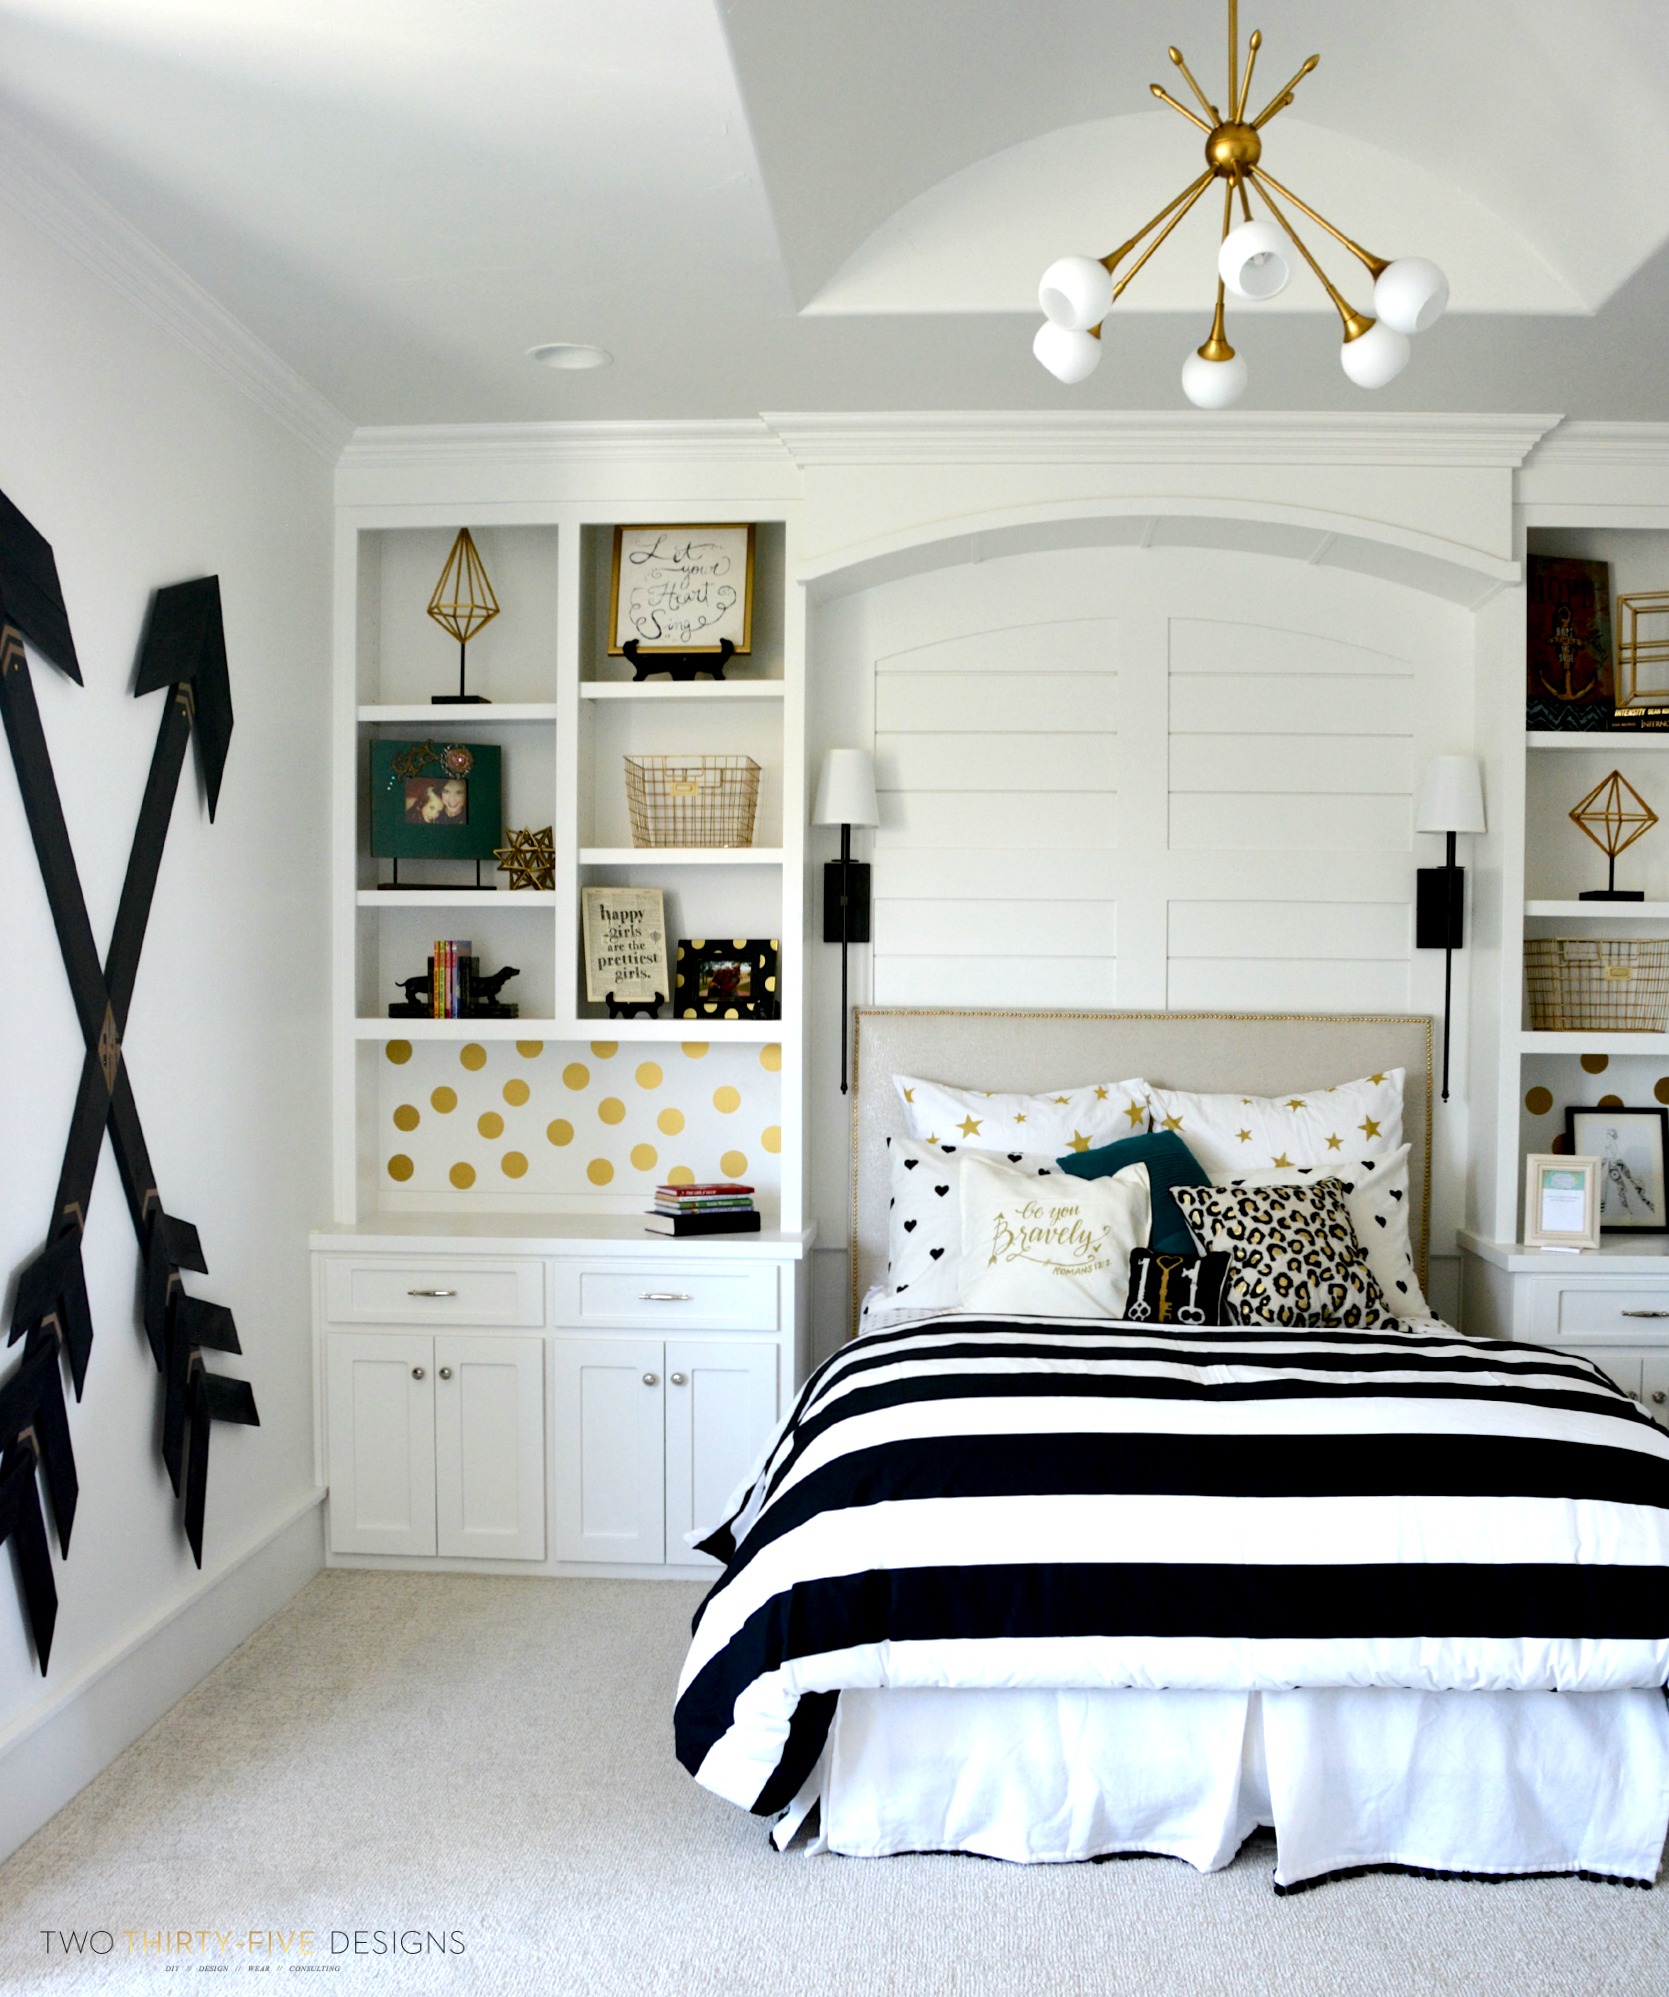
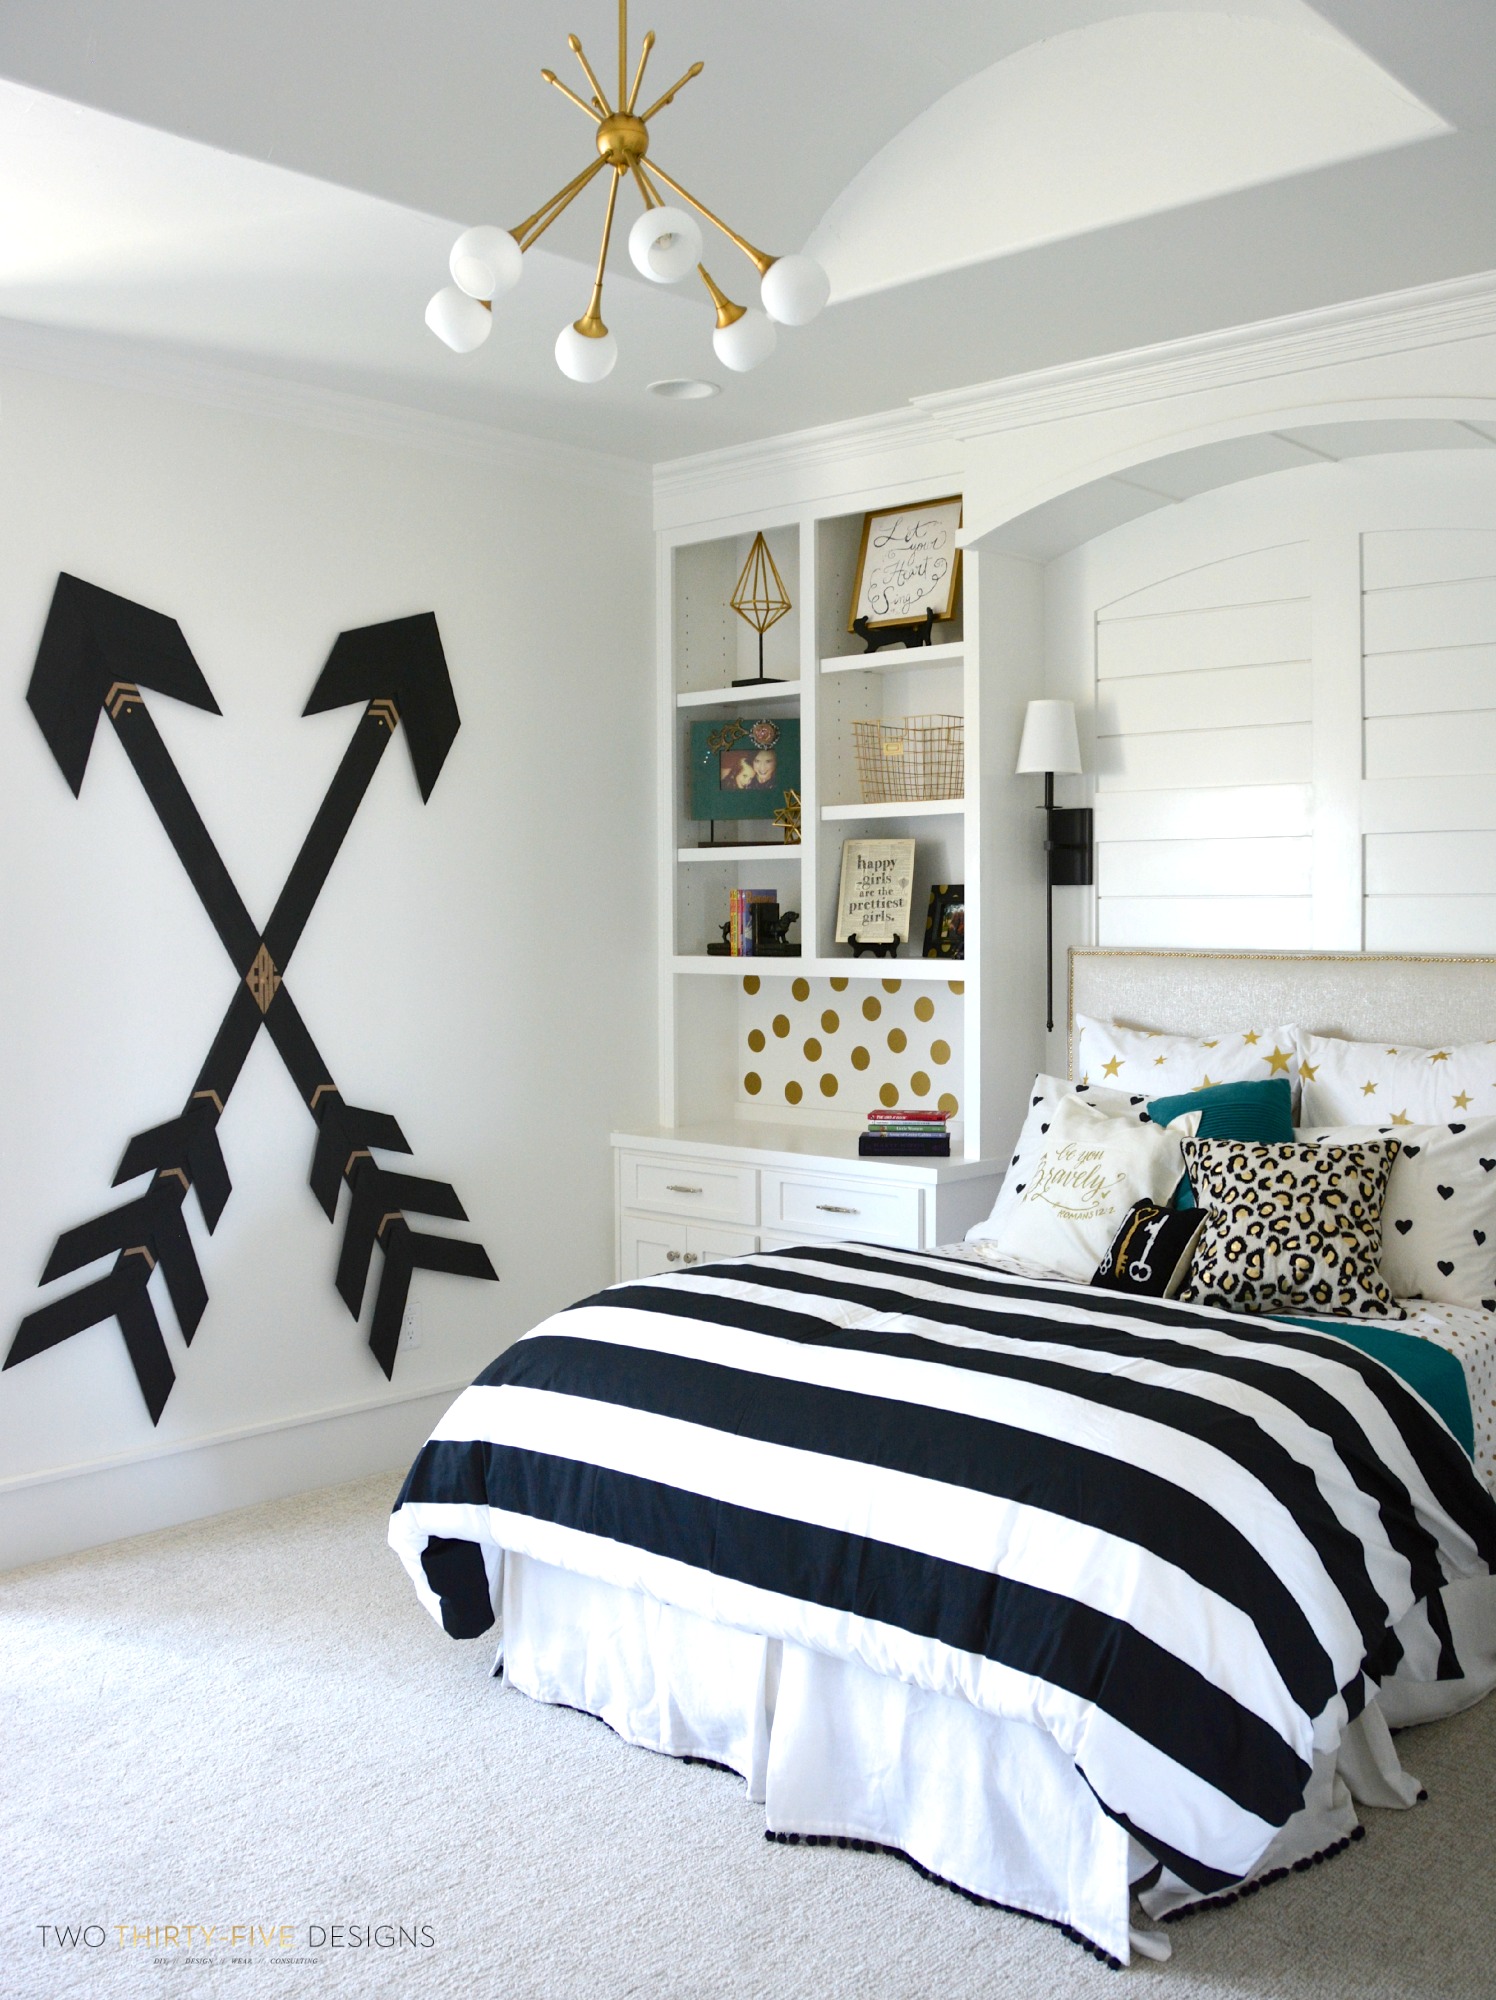
I met up with the homeowner a few weeks before the Parade began. She wanted something for a blank wall that was in her daughters room. It is where your eye lands when you enter, something large scale was mentioned. Along with arrows in the conversation.
When I entered her house, I immediatly fell.
h.a.r.d.
It was absolutely gorgeous.
And the feeling extended to the kids space. I have a little soft spot for kids rooms. Without a doubt, one of my favorite areas to work in.
We discussed and knew what direction she wanted to go in.
Materials:
(all pieces of lumber were cut to size for this space)
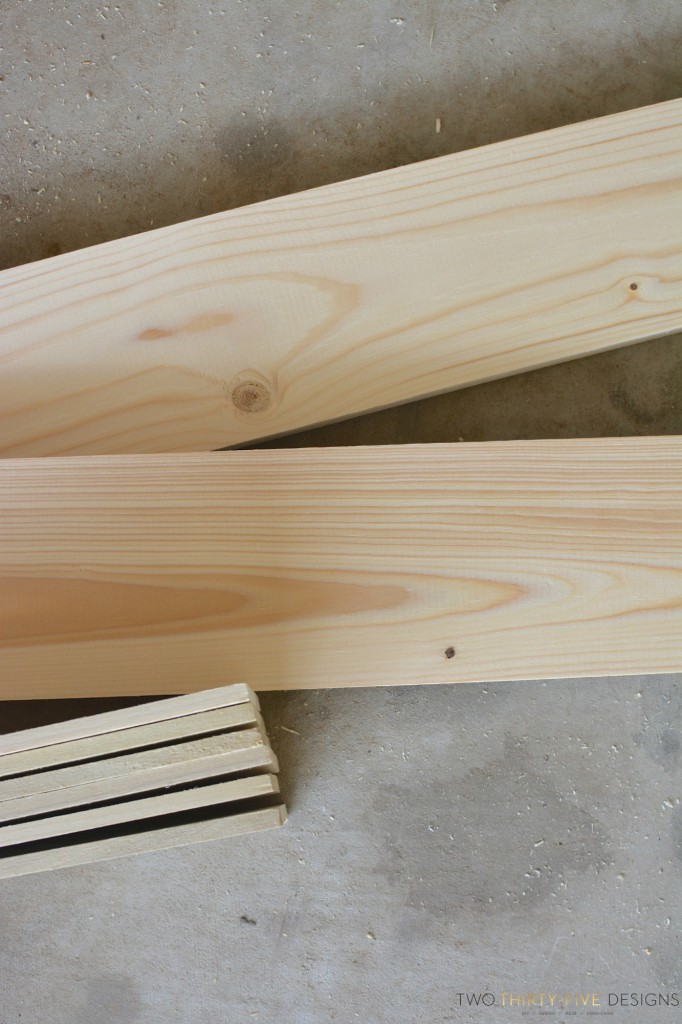
2 1″x6″x8′ Common Board’s
10 1/2″x6″x2′ Hobby Board’s
1 Package of Zinc Plated Mending Plates
Small Screws
3 2 1/2″ Gold Screws
Finishing Sand Paper
Liquid Nails
Ryobi Compound Miter Saw
Homeright Paint Sprayer
Paint
Level
Directions:
Lightly sand common boards and hobby board if needed.
Find the center of each hobby board and mark.
With your compund miter saw, cut a 45 degree cut in the center of each hobby board, and at both ends. Make sure each cut is in the same direction.
Lay out each common board on a flat surface.
Arrange each hobby board on top of the common board. I decided to place two sets up top, right up next to each other. Then place three below, spreading them out, with about 6″ between each one.
After I placed each hobby board where I wanted it, I used liquid nails to attach everything together. Then I placed extra wooden posts that I had to keep pressure applied to every piece. I also set excess pieces of common board under the hobby board so that it wouldn’t dip down.
Let dry.

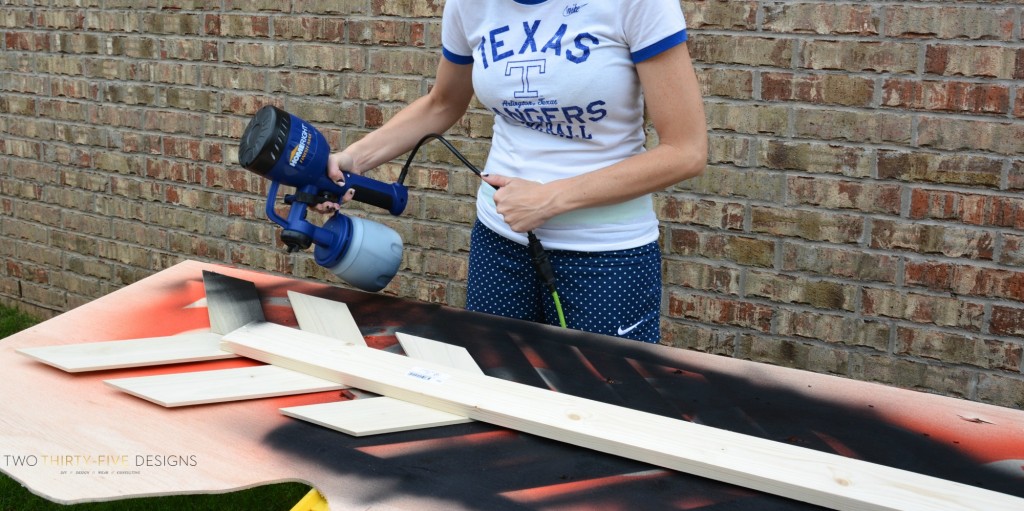
Fill your paint sprayer with paint color of choice.
I talked last week about how much I love this paint sprayer. And I mean really, really love.
Starting on the backside, spray down all edges and sides. Flip and coat the topside.
After the paint is dry, move the arrows to a clean, flat surface.
Side note:
I was dead set on the arrows being flush. Husband thought I should just stack them and run a screw through the middle.
This worried me a bit. Not only were thousands of people going to walk through the home during the parade, it could easily get caught on a cute little dancer twirling by.
I decided to cut one of the arrows, probably because husband said I shouldn’t and the neighbor said I should attach them togther with brackets then hang it on the wall.
This became a tad tricky. Moving the arrows across town, up a flight (and down) of stairs was a bit daunting.
But we made it.
Find you center on each arrow and mark it.
Lay your arrows, with the front facing the ground, one on top of the other (crisscross). Make sure to match up the center dots.
Adjust how wide or how narrow that you want your arrows to be.
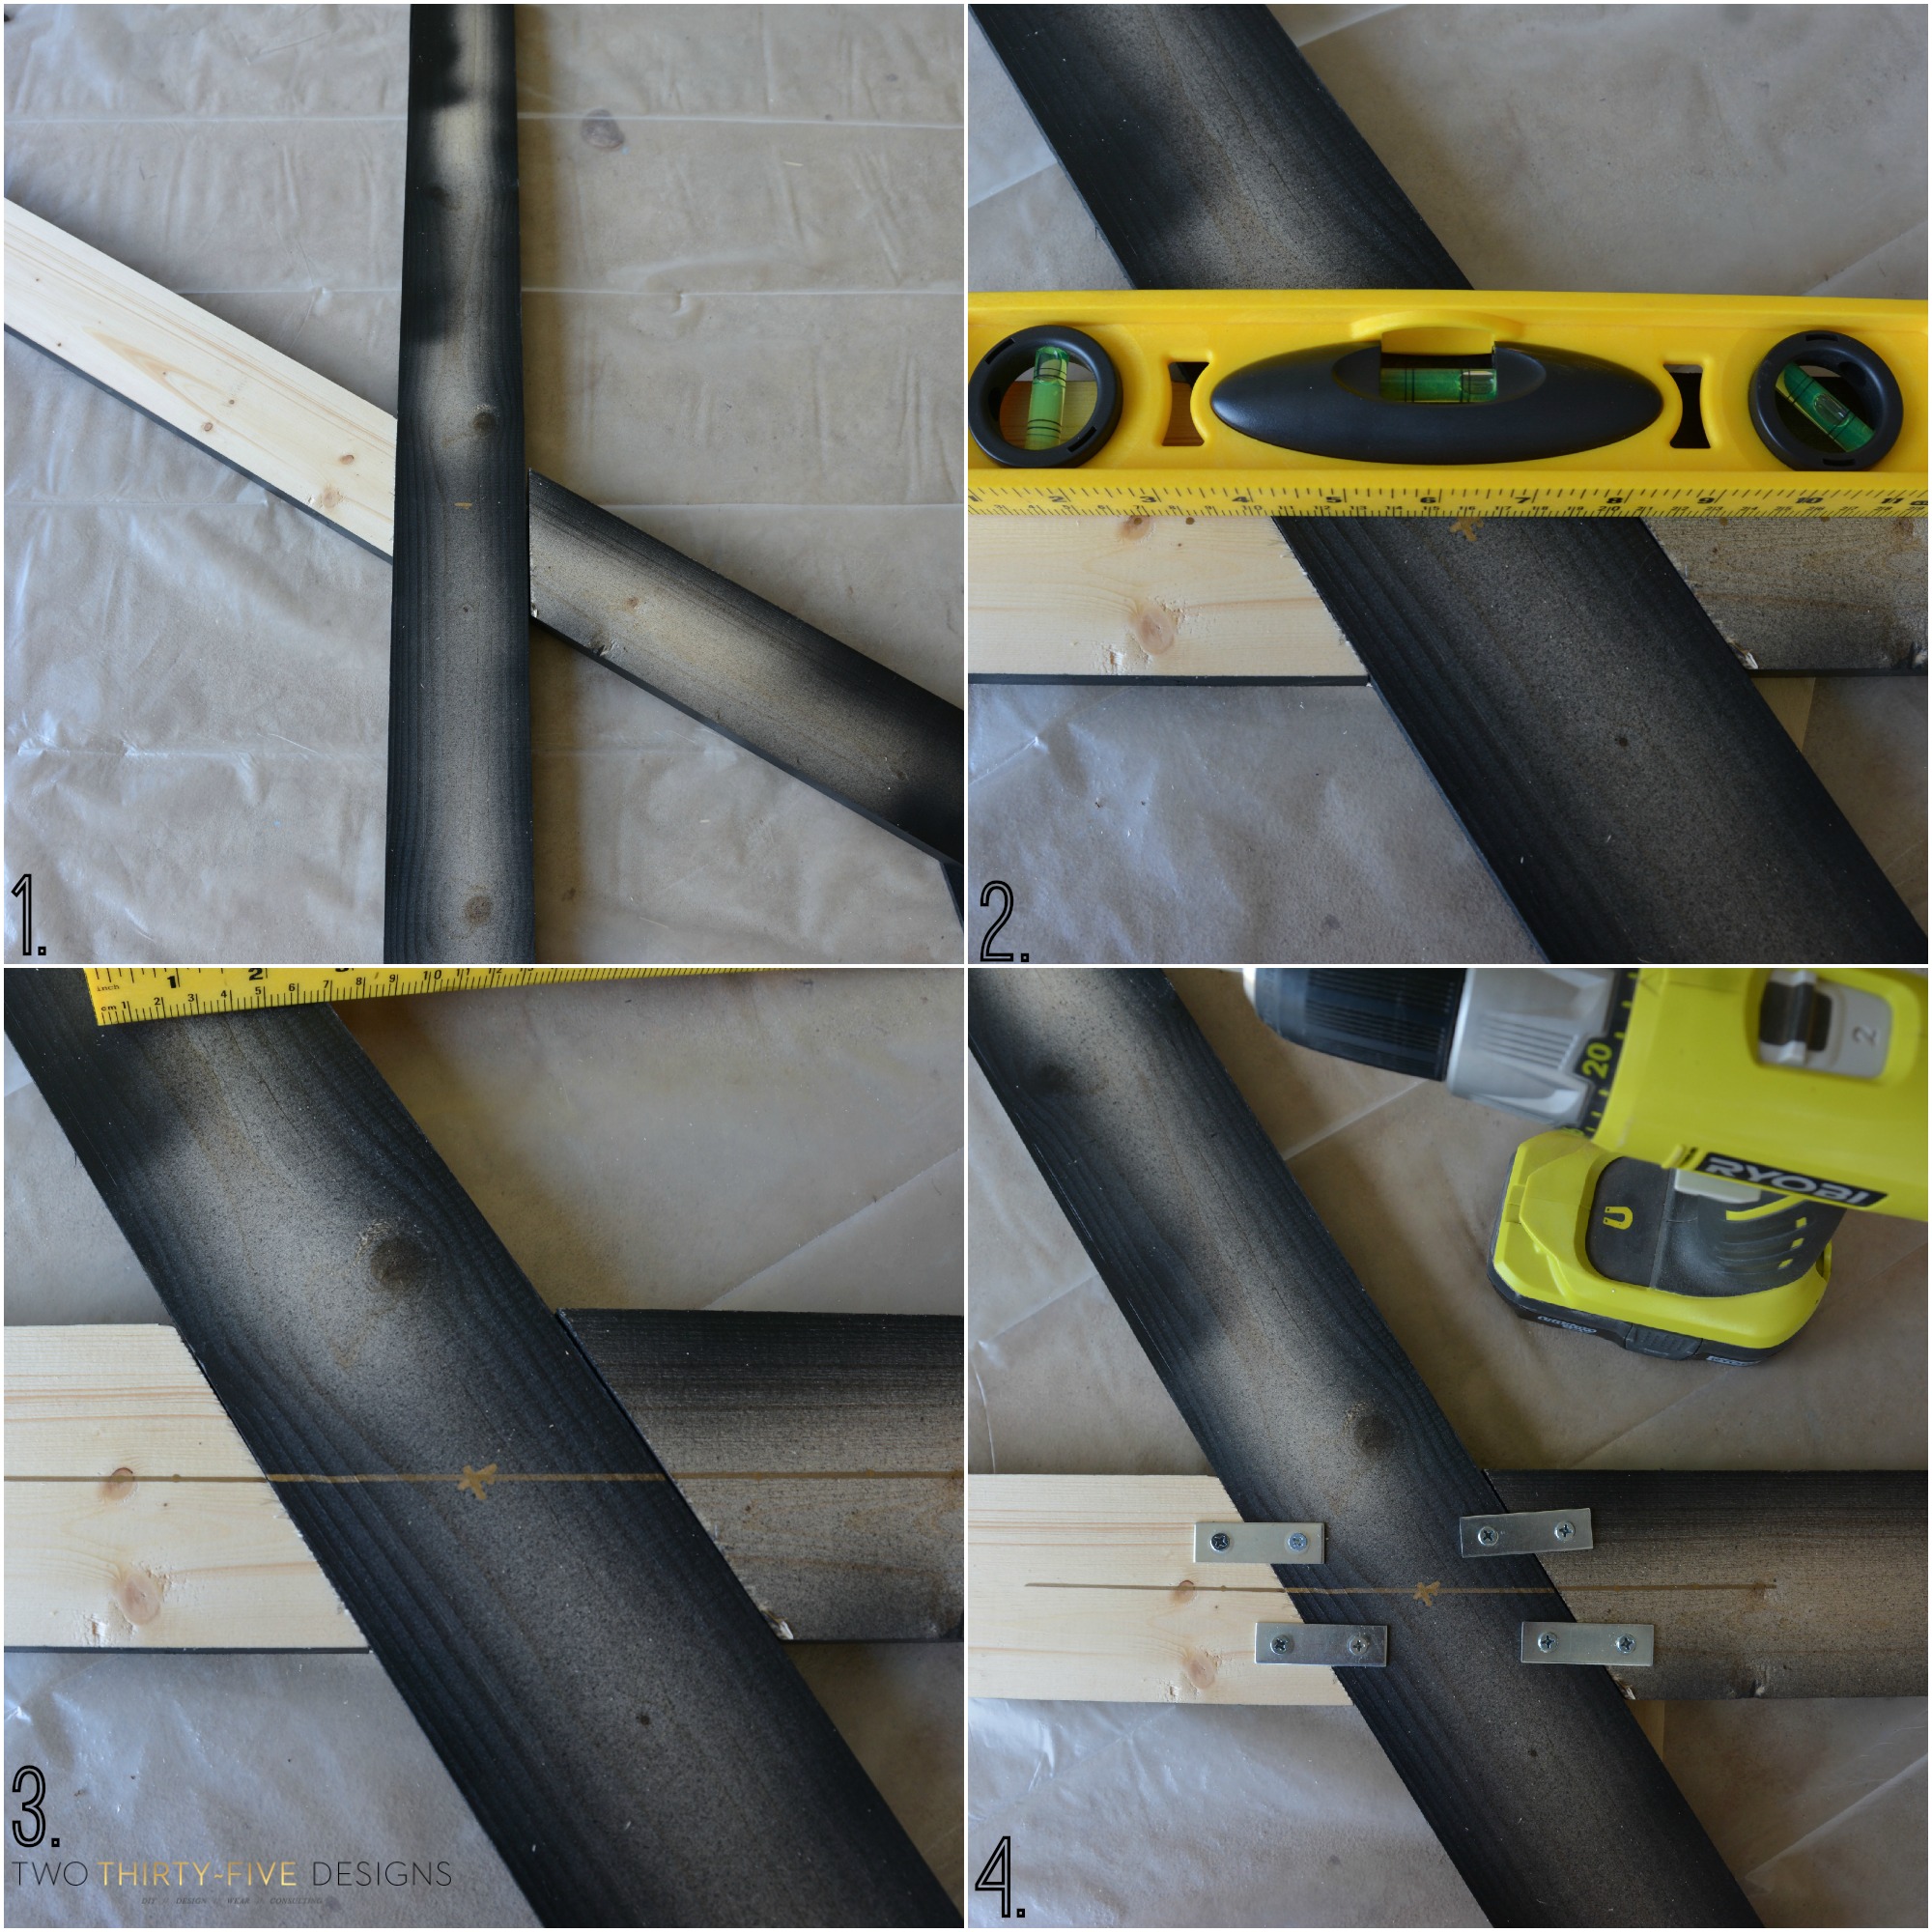
1. Mark on the bottom board each line that needs to be cut.
Use your compound miter saw and cut out the section on the bottom line, following the lines that were drawn on. Find the center on the newly cut board, and mark each side.
2. Place the full board in the middle of the cut board. Use the level and align the center dots.
3. Mark a line, connecting the center dots. It will help keep everything straight when attaching the brackets.
4. Attach the 4 brackets with the small screws, making sure each side is attached and tight.
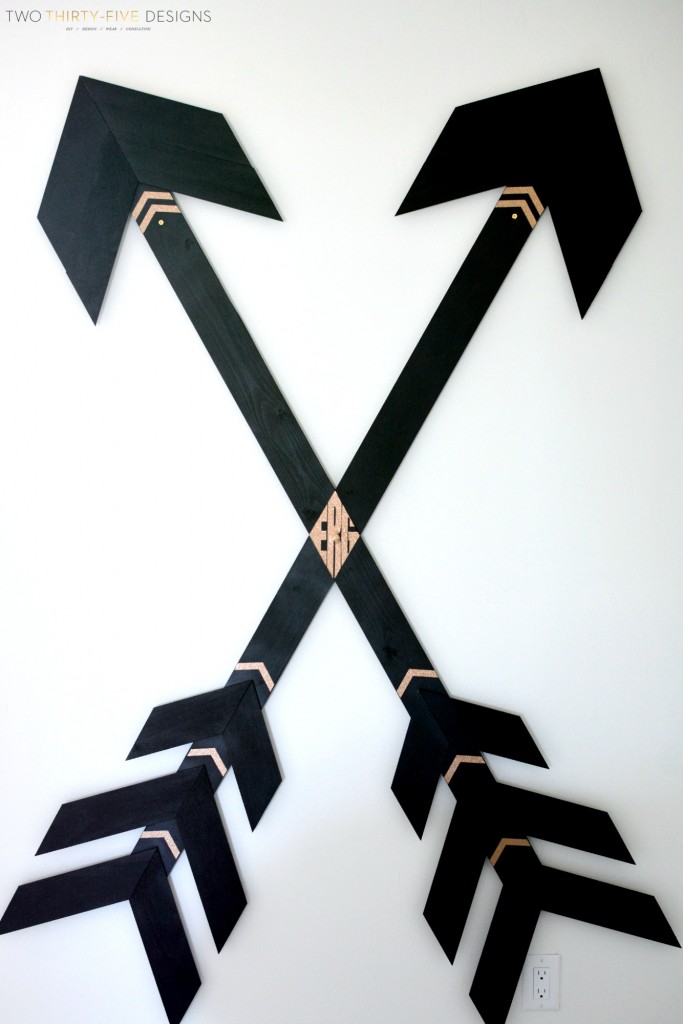
Using the long, gold screw, run it through the center of the arrows to attach to the wall.
![]()
Use the other two gold screws to attach the each arrow at the top.
I decided to cut out gold vinyl with my Cricut and add her initials on it.
I am absolutely in love with this space!
gold chandelier // wall sconce // metal storage basket // stripe duvet // pom pom bedskirt // decorative pillow // decorative pillow // heart sheet set // metallic dottie sheet set // bookends